SE 845
<Please let me know if my images take too long to load, I'm not good at this HTML stuff.>Click here for a shortcut to Page 2.
It's in the breadboard stage now. All I can say right now is that it's gonna be *big*.
Below is the power supply side of the breadboard. The filament transformer for the 866As
has been replaced with a nice old UTC 2.5V/10A unit rated for 10KV.
The main power transformer, chokes, interstage transformers and output transformers are made
by Tribute in the Netherlands. I'm using oil caps in the power supply. There are two 24uF in parallel after
the first choke, a 4uF after the power resistor and two 88uF in parallel after the second choke. I haven't
powered anything up yet, so no comment on the power. Duncan Munro's PSUD says it'll be smooth.
The red wiring is test lead wire for the 1KV B+ voltage. The rest of the wiring is teflon insulated copper.
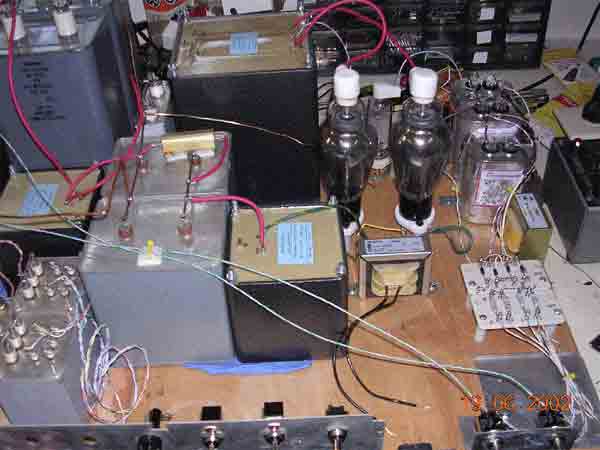
On the right side you can see the bias supply consisting of a diode bridge, choke filtered with a voltage divider which
includes a pair of Spectrol 50K 10-turn pots. I can adjust the bias to use 845s or 211s.
On the left side of the pic you can see the nice potted filament transformers for the 300B driver tubes.
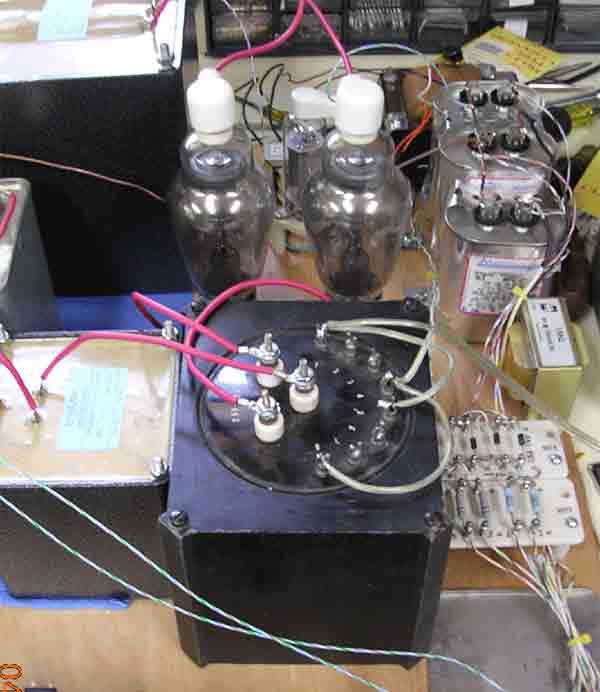
Below is a shot across the breadboard from the left side. You can see the 845 sockets and the second power supply
for the 300B driver section. It uses a vintage Mallory 425-0-425 power transformer rectified with 816s
and a pair of vintage Kenyon 10 henry chokes, all filtered with motor run capacitors.
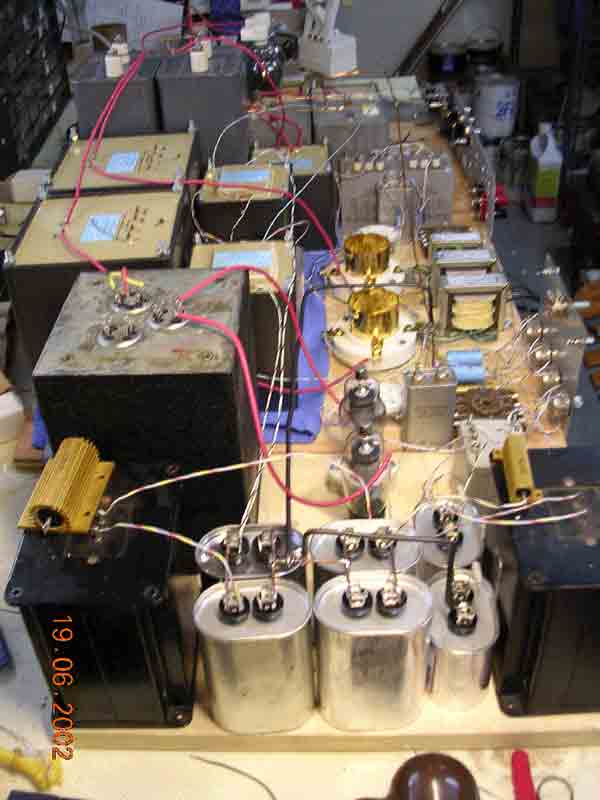
I haven't settled on a voltage amplifier stage for the 300B, but I'm going to start with half of a 6SN7 to see what that sounds like.
I have mounted a pair of octal relay sockets so I can experiment with different driver topologies. I'm using
Hammond 10V/4A filament transformers for the 845s, so those will be mounted under the chassis.
Chassis design is an upcoming design problem, since this thing is so large and heavy. I estimate that I have between 150
and 175 pounds of transformers here. I'm considering a "tower" configuration with the filter capacitors mounted
below the power transformer chassis and the amplifier chassis on top.
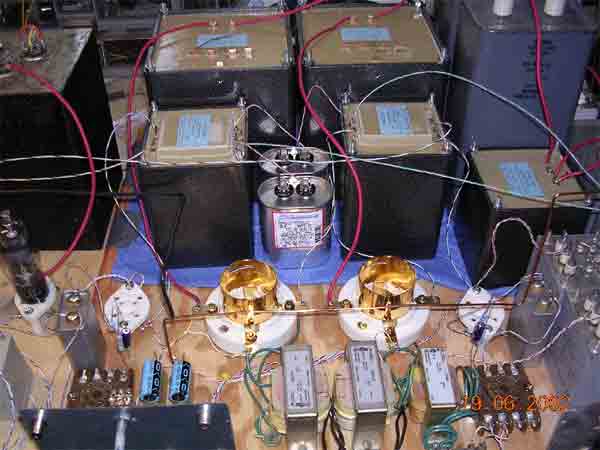
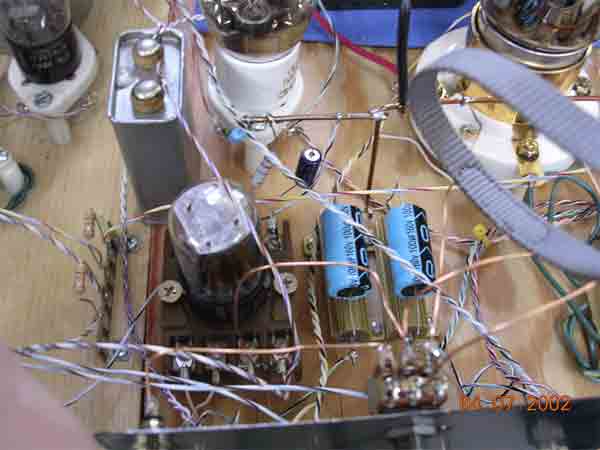
Below is a shot of the amplifier section showing the output and interstage transformers and the tube sockets. I plan
to use the vintage .5uF/600V oil caps as coupling caps between the driver and 300B stages. I'll see how it sounds.
I've built a control panel with a piece of sheet metal drilled for four hum pots, input jacks and a cheapie volume
control for testing. I have a remote control volume pot to use in the finished product.
6/26/04
Well, I lit all the filaments and heaters today and nothing smoked :-)
I ran the 816s and 866s until the mercury condensed in the bottom of the tubes, about a half hour.
No high voltage yet.....
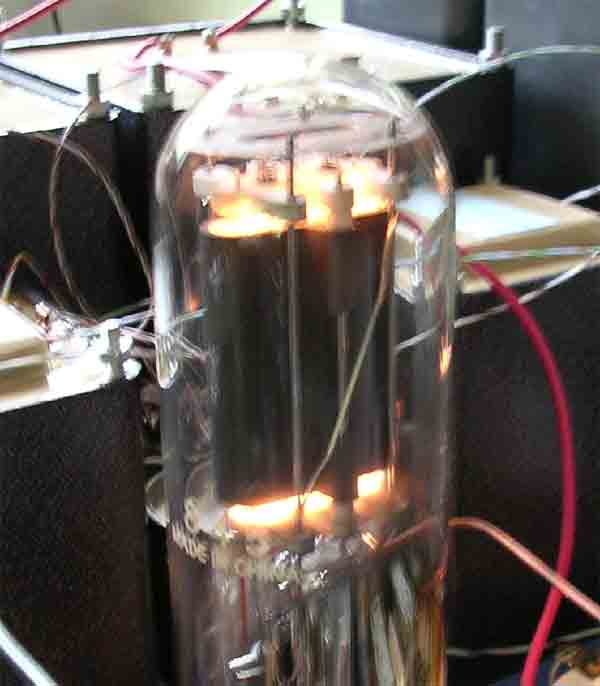
Those 845 filaments are *bright*
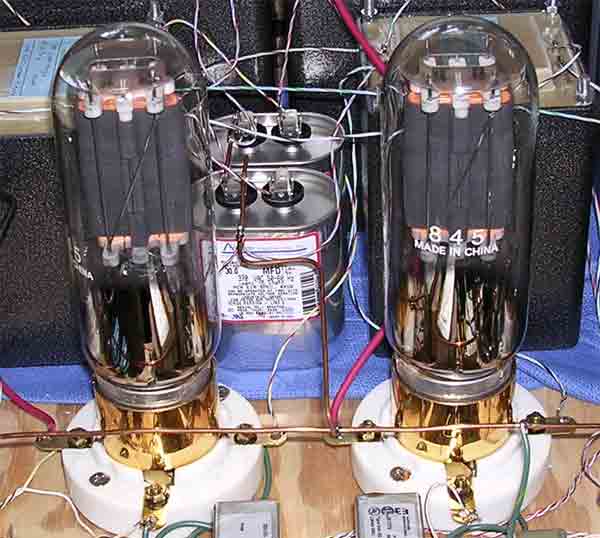
Sorry for the fuzzy pics. I'm still learning to use my new digital camera (Nikon Coolpix).
7/5/04
I wired the input circuit yesterday using half of a 6SN7 per channel R/C coupled to the 300Bs. I will see how it sounds
when I power things up and decide if I need something different. Here's a shot.
Today I wired the primaries of all the filament transformers and the bias supply to appropriately switched points. I'm wiring
the power transformer primaries separately for now so that I can bring them up slowly on a variac.
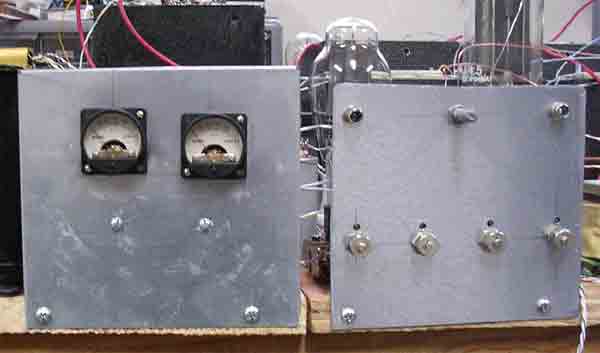
Here's a shot of my input board and hum pots and the miliamp meters to monitor the 845 current. I have them wired in the
ground lead of the hum pots with 2.13 ohm shunt resistors.
Below is a shot of the filament transformer for the 866As (primary has been rewired). It's a vintage unit rated for
2.5V/10A insulated to 10KV. Overkill, but that's ok :-)
UPDATE: 7/23/04
It plays music!!!
I kept an eye on the 300B driver section, running it for a few hours a day before I dared turn on the high voltage. It seemed to settle
in quite nicely, so this morning, I soldered a couple of waiting connections and brought both the driver section and high
voltage section B+ up on a variac (after heating all the filaments/heaters for a while). My calculations were a little off and
I'm getting around 1100V for the 845 B+ with about 60mA of current. Maybe a little too hot. I added some series
R to the power supply, but I may add a little more to see how that works. I had not installed a bleeder R on the oil caps
and when I first powered down, the B+ dropped to about 800V and stayed there! It gradually fell to around 500 before
I used a 10K R to bleed the voltage down. Not surprisingly, when I removed the bleeder the caps rebounded to around
50V, so I discharged them again and put a clip lead from + to ground while I worked on things. I installed a 100K 50W
bleeder on the 88uf caps and it discharges quickly (about 20 sec) and doesn't draw too much current.
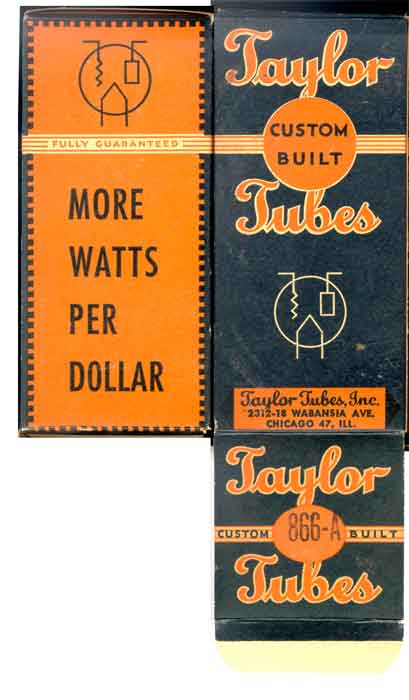
I sure do like that blue glow from the MV rectifiers. I'm using a pair of RCA 816s for the driver section and a pair
of Taylor Custom Made 866As for the output section. The box logo for the Taylor tubes is cool. I'll scan it and post it
here as soon as I can.
I need to reduce the first Rs in my bias supply to get more spread on the bias adjustment since I'm almost maxed out
with the additional B+.
How does it sound? Sounds very good so far, but I want to play with the voltage amp section a bit. I don't think I'm
driving the amp to full output with a CD player output as yet. I'm using 1/2 of a 6SN7 on each
channel right now. I need to bias them a little hotter to see how that sounds. The 300B drivers are
loafing along at 300V, 53mA, cathode bias. I want to try fixed bias here too, but I have some more parts to source first.
I'm off to the RatShack store to get some more 8 ohm load resistors for testing. I'm going to rig four in series/parallel
to get 40 watts of dissipation, so they don't get *too* hot. I'll hook everything up to the scope and signal generator
to get some accurate measurements and post the results here.
UPDATE: 8/1/04
I've created another page with images. Click here to check it out.
I'll be adding more to this site as the project progresses. If you any questions or comments about this amp, they're
certainly welcome. Email me at rkoonce@dsityler.com